Enforcing HTTPS redirect using .htaccess on Cpanel

I am a full-stack software developer driven by the goal of creating scalable solutions to automate business processes. Throughout my career, I have successfully developed web, mobile and USSD applications that serve thousands of users, both for profit and non-profit.
HTTPS stands for Secured Hyper Text Transfer Protocol. HTTPS uses Secure Socket Layer (SSL)/Transport Layer Security (TLS) to encrypt HTTP requests and responses. In simple terms, any information sent over HTTPS is transformed into an unreadable format that is only readable by the sender or receiver after being decrypted.
This is a more secure way to handle passwords, credit card information or any sensitive information. Websites with https usually have a padlock icon in the address bar, denoting that the connection is secure.
Using HTTP only(without SSL) is highly discouraged as it poses lots of security concerns on a website. This article guides on how to setup secured HTTPS.
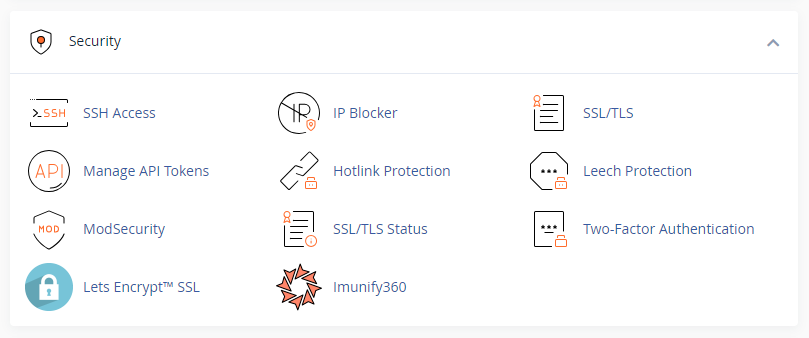
Step 1: Setup Let's Encrypt™ SSL on Cpanel
We will start by setting up Let's Encrypt™ SSL which helps you get a free SSL certificate on your server. Skip this step if you already have it running. If not, on your Cpanel dashboard, scroll to the Security section and set it up.
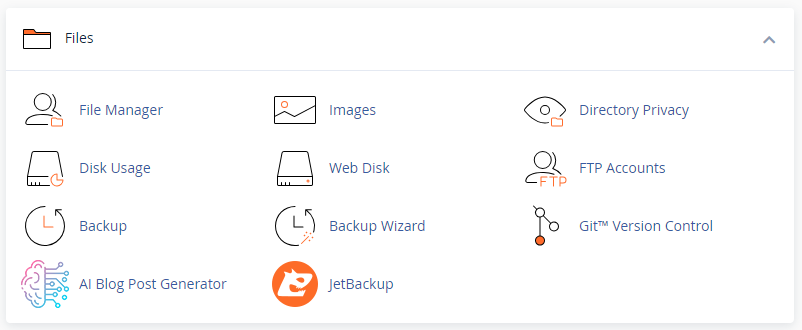
Step 2: Create a dot htaccess file (.htaccess)
Suppose you have an existing .htaccess file in the root domain folder(one that contains the website), you may skip this step. To create one use the "File Manager" option in your Cpanel dashboard.
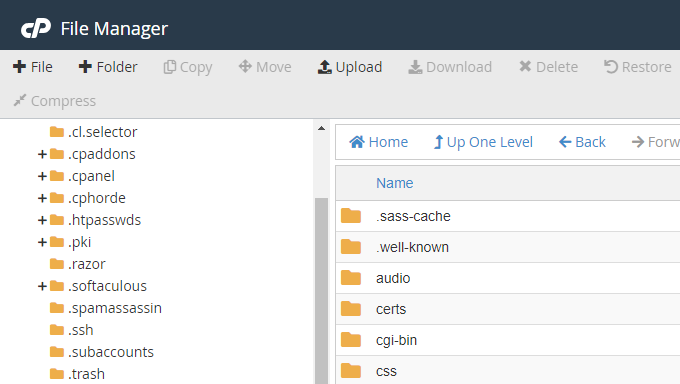
On the File Manager panel, open the folder that contains the website (in most cases, is the "public_html" folder. Click on the +File option.
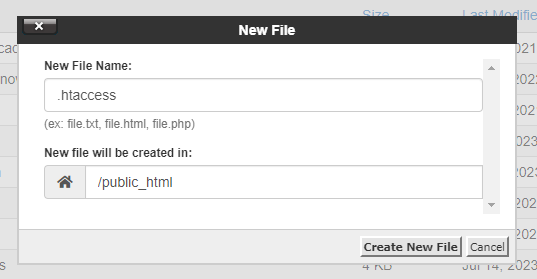
Proceed to create the .htaccess file as shown in the image below. PS: For this particular file, its name must be preceded by a dot (.)
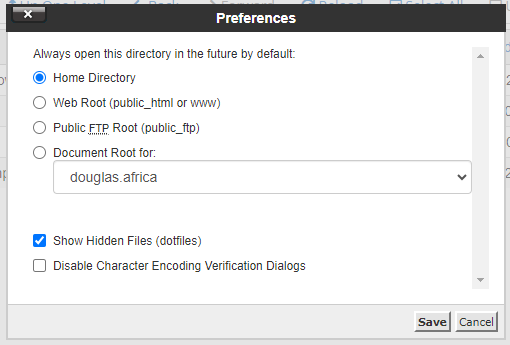
Step 3: Locate the .htaccess file
By default, Cpanel dashboards are configured to hide dot files thus you may not immediately see your .htaccess file. To make the file visible, head to the Cpanel "Settings" option at the top right of your dashboard. Ensure the "Show Hidden Files" is checked as shown in the image below.
Step 4: Add the HTTPS redirection code
After locating the .htaccess file, right-click on it and choose the "Edit" option. Copy the following lines of code and paste them into your file.
RewriteEngine On
RewriteCond %{HTTPS} off
RewriteRule ^(.*)$ https://%{HTTP_HOST}%{REQUEST_URI} [L,R=301]
Conclusion
As simple as that, our website now has its traffic encrypted using the SSL/TLS protocol. Remember security goes beyond implementing HTTPS and thus you should configure other security measures to prevent internet attacks.