Hashnode is a free developer blogging platform that allows you to publish articles on your own domain and helps you stay connected with a global developer community. It was born from the fundamental idea that developers should own the content they publish.
Step 1: Create a free user account
Sign up for a free user account by clicking here and choose your preferred way to create an account as shown below.

Step 2: Choose the blog location
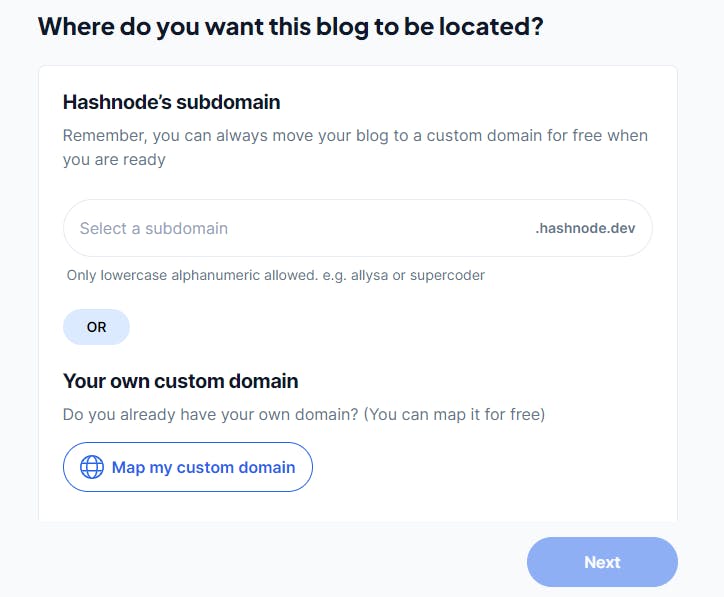
Hashnode offers you two options on where you wish your blog to be hosted. For this article, we will use a custom domain name.

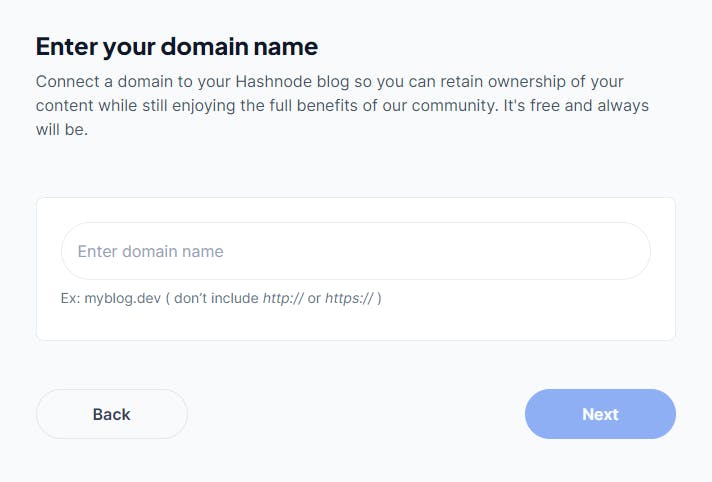
Step 3: Specify the domain name
If you have a domain name/subdomain already proceed and type it and click next to proceed Do NOT include https:// or http:// while typing e.g. if my domain name is blog.douglas.africa, I will only type blog.douglas.africa . In case you do not have a domain name, you can get it at an affordable price by clicking here and choose a suitable package.

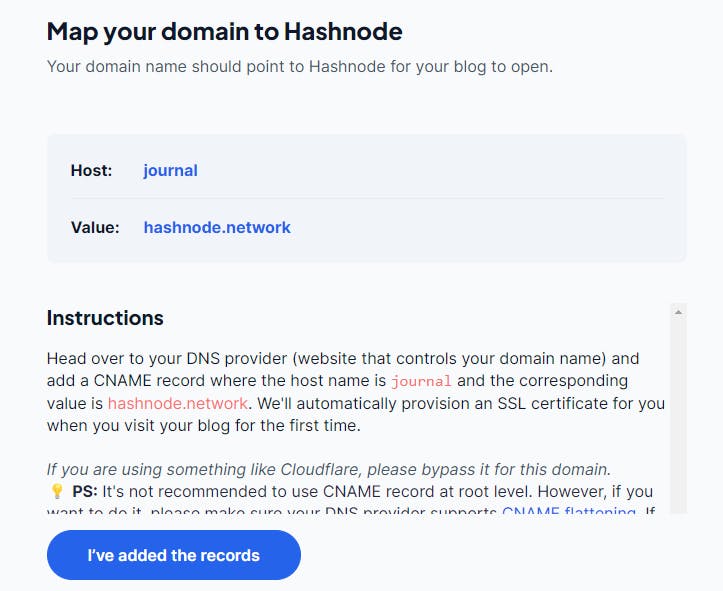
Step 4: Map your custom domain name
Depending on your preference, you could opt to use a subdomain or a root domain name. In my case, I settled on using a subdomain. The name of the subdomain will serve as the host while the hashnode.network will serve as the value when adding the CNAME record in the Step 5. In some cases, you maybe requested by Hashnode to prove that you are owner of that domain name by adding a certain text to your server file as they will provide.

Step 5: Adding a CNAME record
Before you add a CNAME record, you should have access/control of your domain name configuration settings. I use Cloudflare (a CDN service) to manage my domain and it makes the process of adding a CNAME record for me very simple as shown below. You can click here to sign up for a free plan to Cloudflare
PS: It is not recommended use CNAME record at root level.

After creating an account and adding your domain name to Cloudflare, a dashboard as shown above. On the left side, select "DNS" and choose "Records". On the right side of the dashboard, click on the "Add record" button.

On the "Type" textbox, select "CNAME" option. Type in your Name which is equivalent to the "Host" and Target which is equivalent to "Value" as given by Hashnode shown in Step 4 above . Lastly, turn OFF the "Proxy status" to have the domain support DNS only. Click on "Save".
Conclusion
If all your details are input correctly, Hashnode will validate them within 24 hours. Remember to check your Hashnode dashboard to see any update on validation. Once all is done, you can go ahead and type your new blog article and your visitors will find it using the custom domain name.
For any queries or assistance, feel free to reach out to me using dglsdeveloper@gmail.com or +254 791323200


